The first half of the skin I made, did not need to be so long. I wasted a lot of material making the right side skin, but it was a learning experience. but due to the slight change in the curve to the trailing edge of the wing root (due to the shorter length), I was able to conform the shape of the replacement shin to get it to fit. The second half can be more precisely measured, and less material used. This will cut down the waste..
With the left empennage skin fabricated, now comes the trimming and test fit.
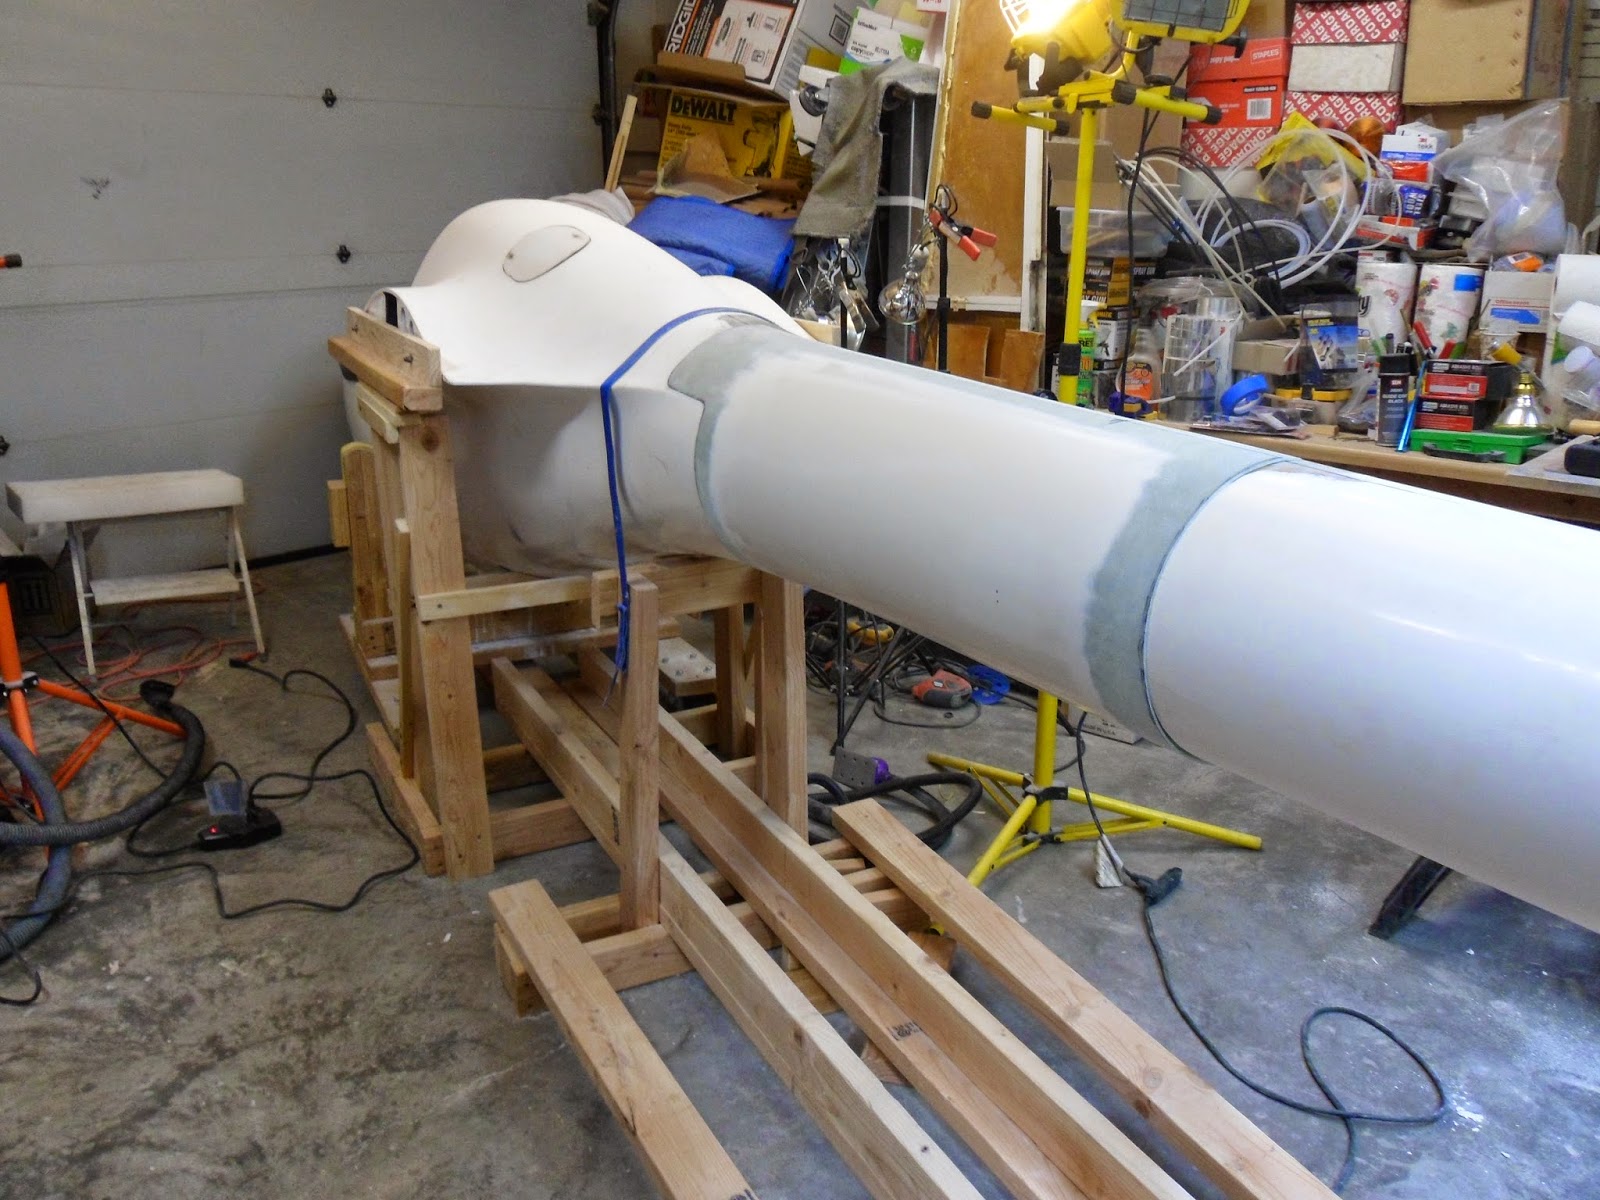
 The majority of the excess glass has been removed, and some fine trimming to complete the fit, I will next add additional internal flanges to hold the piece in place during the initial setting of the epoxy
The trimming and fitting of the skin. seems to be a never ending process.
I added the support stringer on the top and bottom of the seam (per the original design), along with making the internal flanges for the skin to fit over.
During the re-plumbing of the TE probe and static ports, I was concerned
with how the tubing was just flopping in the glass straps.
I came up with an idea to hold the tubes in place, but still giving them play to flex. I found that the semi-dense foam padding used to ship electronics would hold the tubes, and yet conform to the tubes shape without pinching.
I showed this to Robert and he found it to be a great idea, and gave me the go ahead to pad the tubing. The foam was cut to fit in the strap, and was secured using epoxy on the strap side to hold the foam in place.

I also used the foam to pad the transponder coax to prevent it from chaffing.
 The tail boom is plumbed, wired, push rods in place, and ready to be buttoned up. Robert needs to inspect the work before I can proceed.
The following week, Robert stopped by to inspect the work. We was please with repair and gave me the go ahead to proceed with sealing up the fuselage.
Before attaching the side skin, I placed a piece of sheet plastic drop cloth to protect the insides from any epoxy squeeze-out and rigged the plastic with a pull cord which will enable me to remove by pulling through the open bulkheads to the landing gear bay.

I prepped the inside of the skin and flanges, and used epoxy paste to glue the skin in place. In order to hold the skin to the flanges during the cure, I used clecos (per Roberts suggestion).

With the skin epoxied in, it's time to bond the seams to the fuselage.

The forward seam was scarfed and bonded...

After the forward portion cured, the aft section received the same treatment.
Finally, I finished bonding the last repair seam.

After the resin cured, I removed the support-alignment jig, and she is siting on her own tail now!

I'm a little behind my planned schedule... but at least there is progress.